 Alright, so it’s been a while since I got my four year old to actually eat his dinner on his own, without prodding. So naturally I expected meatless Monday to go about as well as shaving a cat. I’ve even tried making meals fun by dyeing them cool colors and putting them on sticks. No dice. But I needed to make a healthy dinner so mommy can eat and not feel like she’s sustaining her family on a diet of Cheerios and Valentines candy from Grandma. (Which is of course all the kids want because they know it’s there) So I broke out my Sesame fried tofu recipe, which I at least knew the hubby liked.
It was a meatless Monday miracle people. I put the food down on the table and a few seconds later all I can hear is my four AND two year old happily chewing their tofu. My husband probably wishes he had a picture of my face. Because my son then said “I wish we can have these brown things every night with dinner.”
Those brown things were tofu. My son, who will make you barter with him for every bite of sandwich, pasta, casserole etc on a nightly basis, was scarfing down tofu. And subsequently his edamame and rice. It was a happy, peaceful (well, peaceful for two kids under 5) meal, and mommy felt awesome about it. I’m pretty sure we will be trying more meatless meals and tofu as I try to recreate this anomaly at my dinner table, but for now, I’m going to share this recipe with you and hope it brings your kitchen (and bellies) as much happiness!

You’ll need;
- 14 oz. Extra firm tofu
- 1/4 cup cornstarch
- Coconut oil (any frying oil will do if you don’t have this on hand, but I’ve been trying to clean up our dishes a bit so I went for coconut oil tonight)
- 2 tbsp sesame seeds
- 2 green onions
- 1/3 cup honey
- 1 tsp crushed red pepper flakes (double if you like spice, but for kids I kept it low)
- 3 tbsp soy sauce
- 2 cloves garlic
- 2 tbsp rice wine vinegar
- 2 tbsp sesame oil
- 3 tbsp fresh ginger
The process;

First things first, drain your tofu and wrap in paper towels, then set on a plate with another flat, fairly weighty object on top. Like a heavy plate, or in my case a plate with a mortar and pestle on top.
What? It was appropriately heavy and on hand in the kitchen.
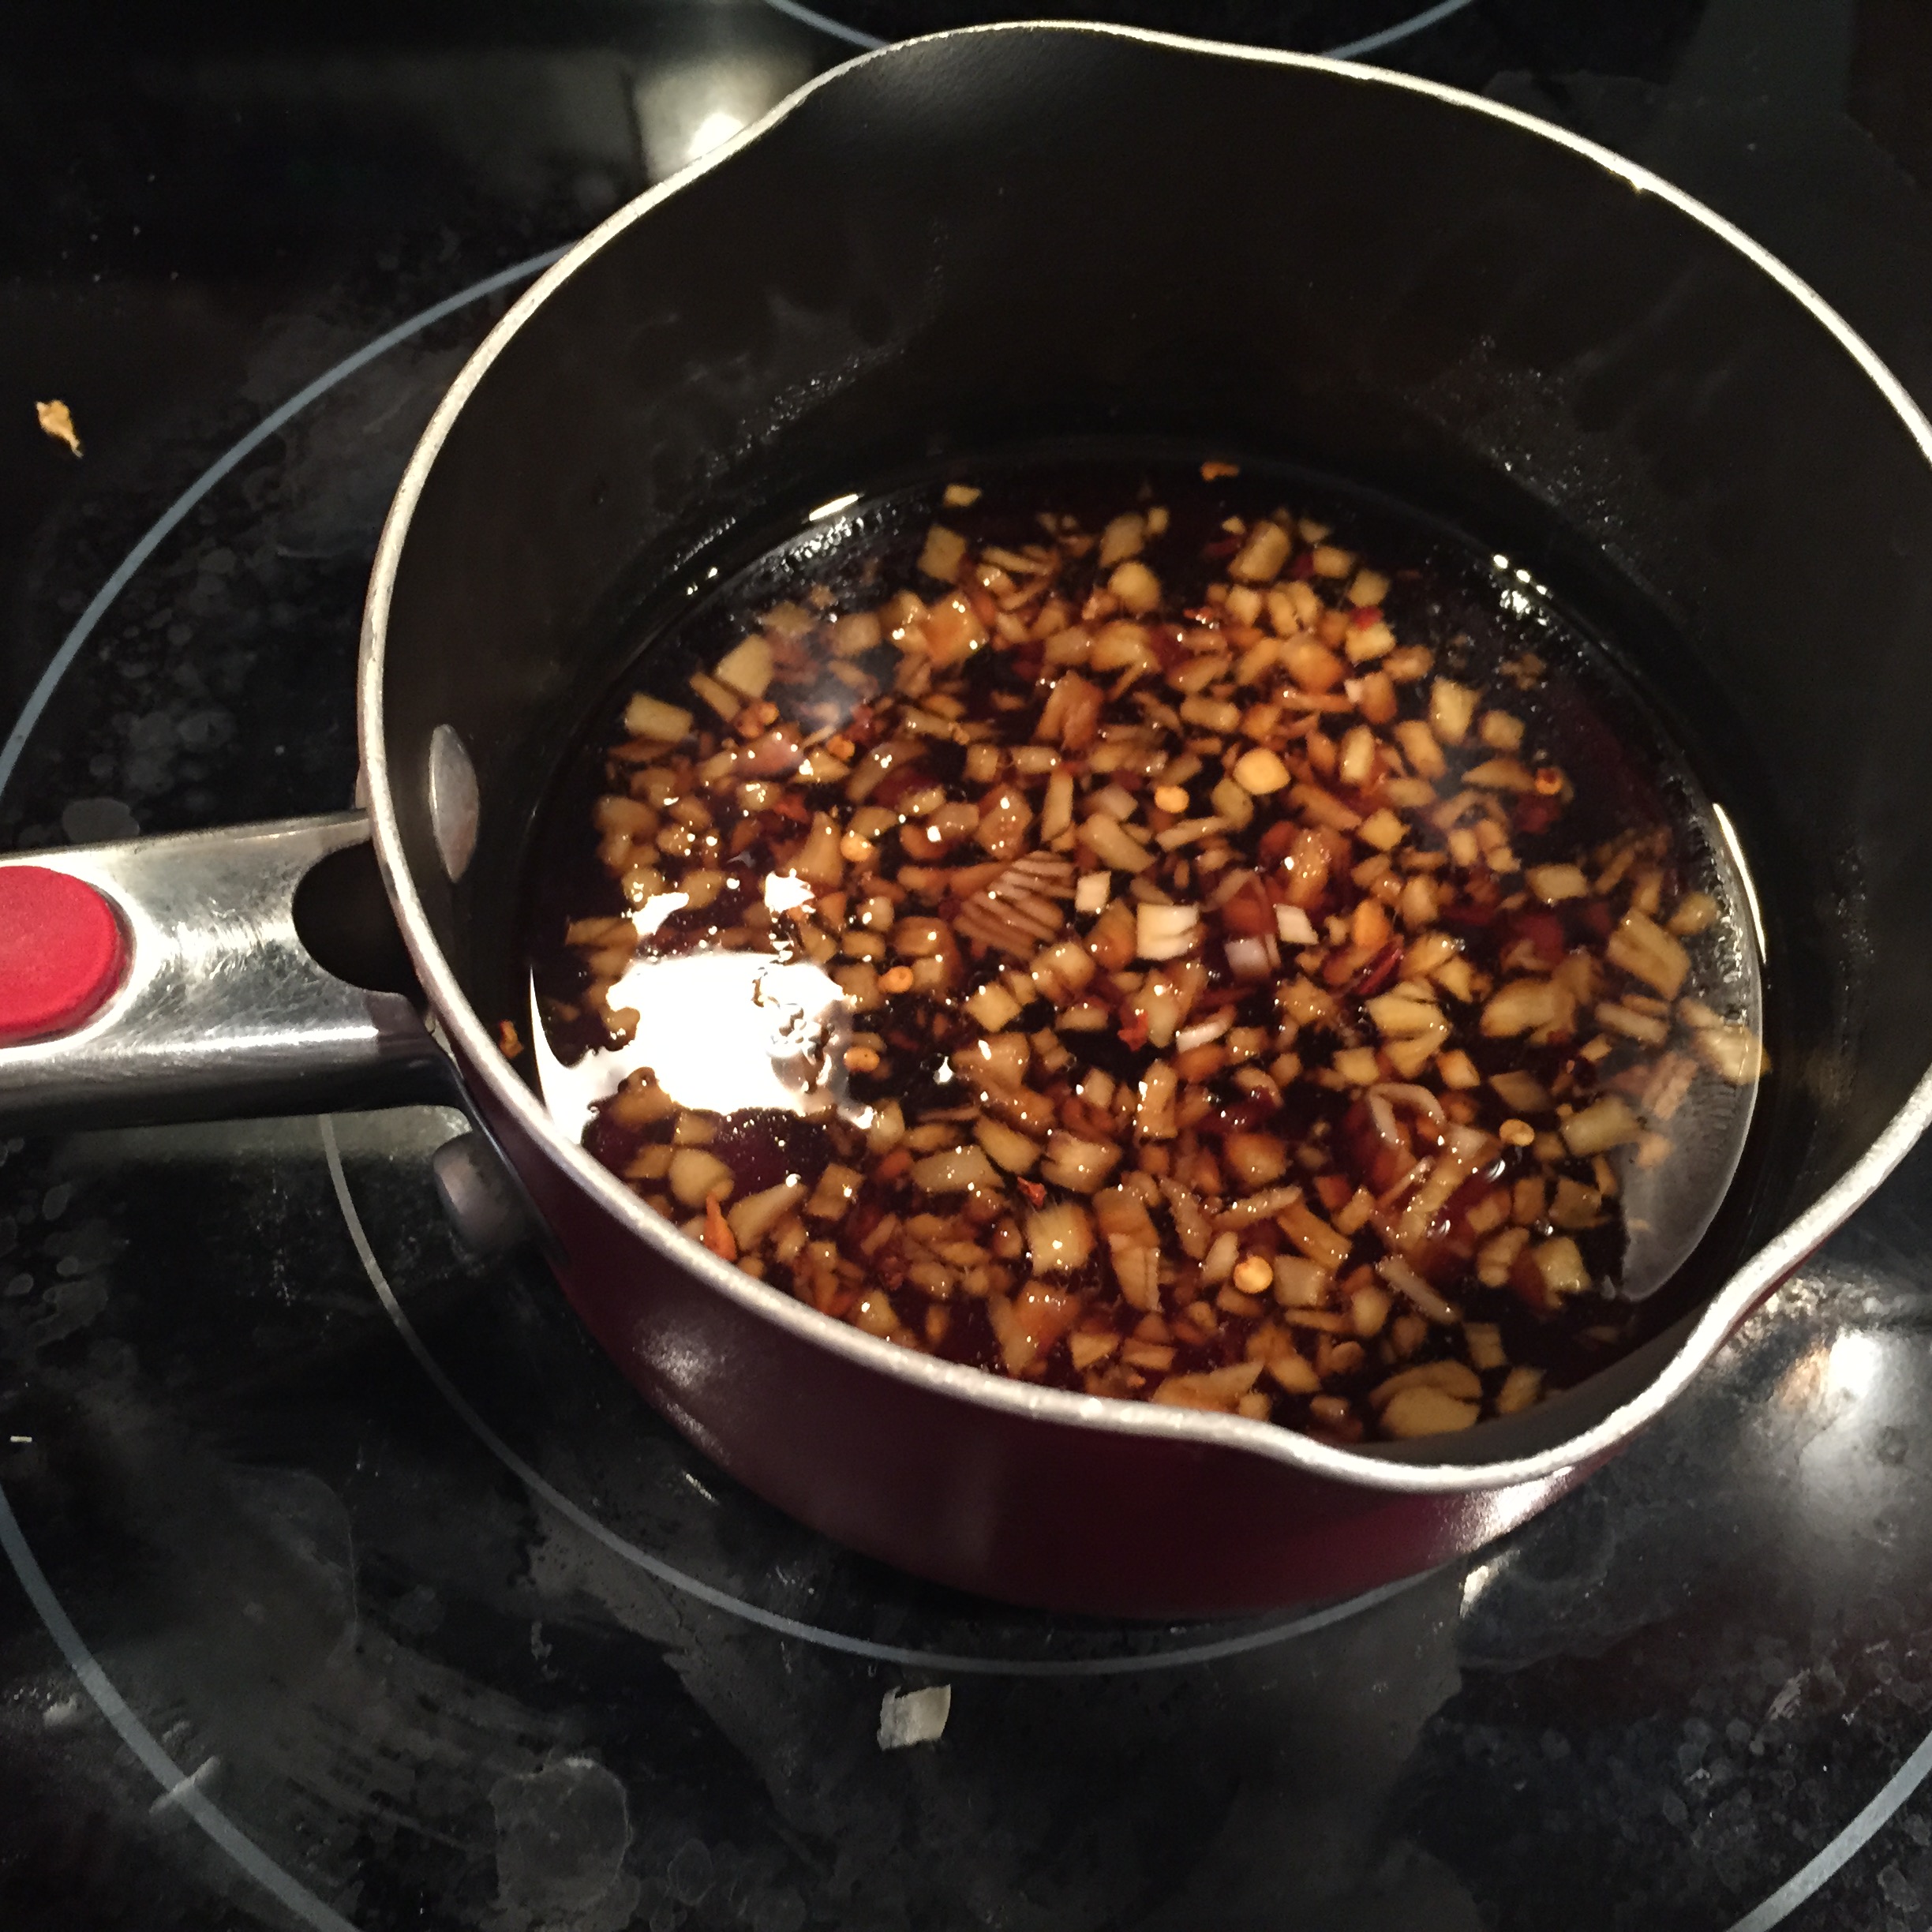
So while that sits for about 30 minutes, mince your garlic, ginger and green onion. Set the onion aside, and put the ginger and garlic into a small sauce pot. Add to the pot your honey, sesame oil, rice vinegar, soy, red pepper flakes and let sit over medium heat, stirring occasionally. (Tip: I measured my sesame oil and poured it into my 1/3 cup before pouring it into the pot. This way, when I measured out my honey in that cup, it wasn’t such a pain in my arse to get out.) at this point it would be a good idea to start any side dishes (which in my case were rice and edamame) because you’re really almost done.

Now go uncover your tofu, and pat it with MORE paper towels. After its patted down, cut it into cubes about 1 in. And transfer them to a bowl. Sprinkle the cornstarch over the tofu cubes and gently toss to coat. Now you’re ready to fry them! At this point I put the sauce on low, where it can just sit until needed. In a large skillet on high, melt your coconut oil (you need enough to fill the pan about 1/2 an inch) and place your cubes in the pan. They cook quickly, so turn after a minute to check for color. You want them nice and golden brown on all sides. I suggest doing it in two batches.

Once golden brown, place on a paper towel to drain off some of the oil, and when drained to your satisfaction, place in another bowl! (Yes, I know, more dishes. I was cringing too, but the end result is worth it!) Pour the sauce, sesame seeds and onion over the tofu and toss to cover. Serve immediately and enjoy!

Show of hands; who is singing the “killer tofu” song from that old nickelodeon show “Doug”?
Let me know what you think!